Most home lead test kits sold for dishes carry an “EPA-recognized” label, and most articles treat that label as proof the kit works on ceramic and glass.
It doesn’t quite mean that. The EPA’s testing program validated these kits for painted wood, drywall, plaster, and metal, not glazed dinnerware, which changes how much confidence you should put in a single swab result.
Here’s how to actually test a dish, in the right order, and what each method can and can’t tell you.
The three ways to test dishes for lead
Before you decide which test to run, it helps to know how to know if your dish is lead-free without testing it first, since some risk signals (age, decoration, origin) can save you a test entirely.
If a visual check leaves you unsure, there are three real options for confirming lead in dinnerware, and they trade off cost, speed, and certainty in a fairly predictable way.
| Method | Cost | Time | What it actually tells you |
|---|---|---|---|
| Home swab kit | Low ($10 to $25 for a pack) | 30 seconds to 2 minutes per swab | Whether lead is present at the surface, at the specific spot you swabbed |
| Professional XRF testing | Moderate ($50 to $150 per visit or item) | Minutes per item, on-site | Total lead content at the tested spot, nondestructively, with better sensitivity than a swab |
| Certified lab leach testing | Higher ($50 to $200+ per sample) | Days to weeks (ships out, lab processes) | How much lead actually migrates into food under standardized conditions, the same kind of measurement the FDA uses |
Home swab test kits
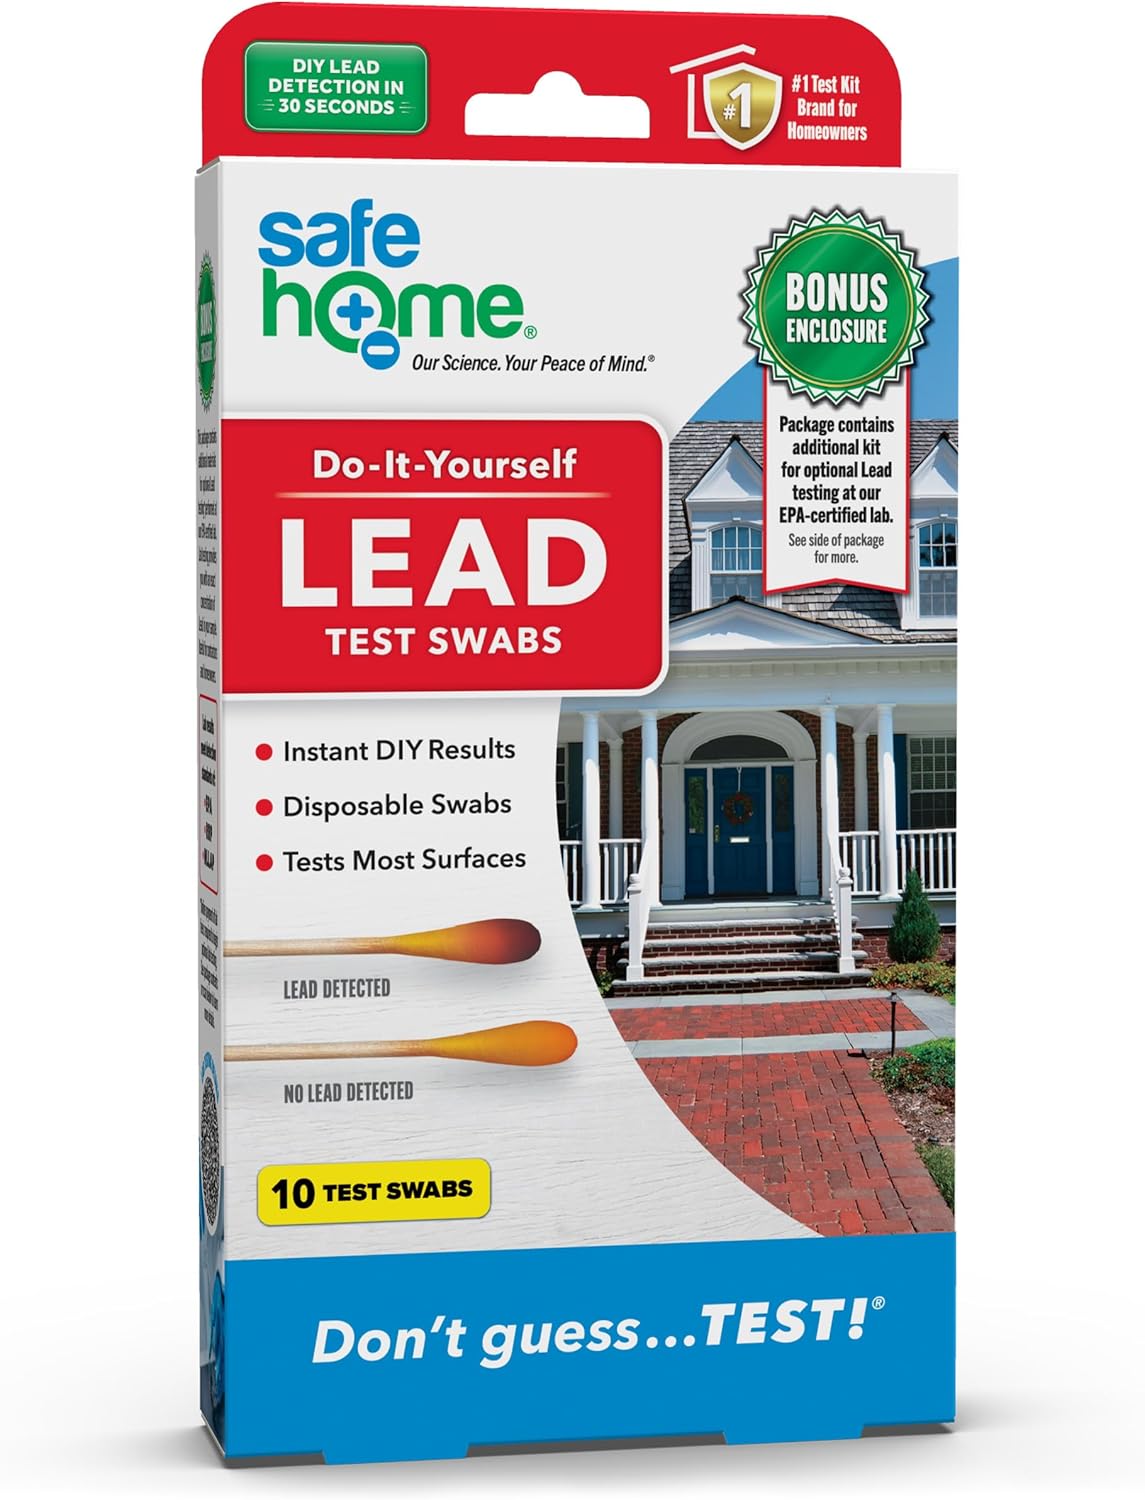
A swab kit uses a chemical reagent that changes color, usually to pink or red, when it reacts with lead on a surface.
You rub the swab against the dish for a set number of seconds and compare the result to the kit’s color chart.
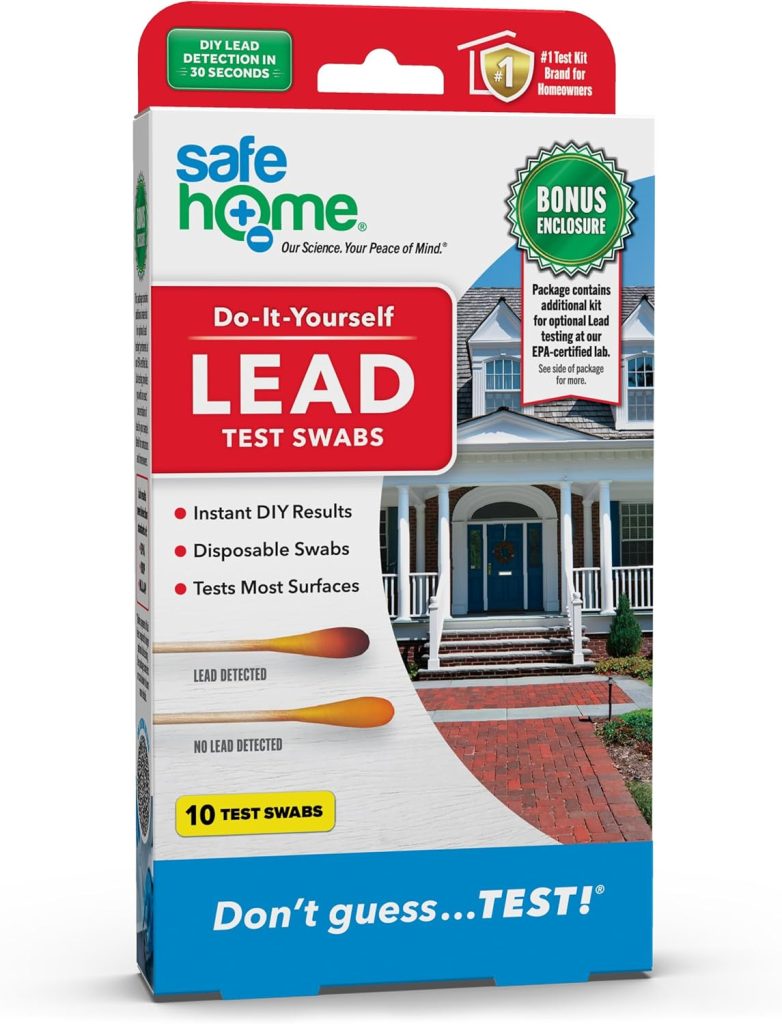
It’s the cheapest and fastest option by a wide margin, and it’s a reasonable first screen for a piece you’re only mildly concerned about.
What it can’t do is tell you how much lead is present, or whether lead below the swab’s detection threshold is still leaching into food over repeated use.
Professional XRF testing
X-ray fluorescence analyzers measure lead content without damaging the item, which makes them useful for antiques, heirlooms, or anything you don’t want to send off or destroy.
A trained inspector holds the device against the surface and gets a quantitative reading in seconds.
This is more sensitive than a swab and doesn’t rely on a visible color change, but the equipment is expensive enough that almost nobody owns one personally.
You’ll typically book a session with an environmental consultant or a service built around this equipment.
Certified lab leach testing
This is the closest a consumer can get to the actual regulatory standard.
A sample gets submitted to a lab, filled or soaked with a dilute acetic acid solution for a set period, then analyzed by atomic absorption spectroscopy or ICP-MS to measure exactly how much lead migrated into the liquid.
It’s slower and costs more than either of the other two methods, but it answers the question that actually matters for food safety: not “is lead present somewhere in this dish” but “how much of it ends up in what you eat.”
It’s also the only method of the three that produces a number you can compare directly against a published legal limit.
A swab tells you red or not red. An XRF reading gives you total lead content at a spot, useful, but measuring a different thing than migration into food.
A lab leach test gives you a figure in micrograms per milliliter or parts per million that lines up with the same units the FDA and CPSC use in their own standards, which is why it’s the method that actually settles the question when a result needs to hold up.
What “EPA-recognized” actually means for a swab kit
“EPA-recognized” is a real credential, but it’s a narrower one than most product listings suggest.
The EPA’s Environmental Technology Verification program tested a handful of swab kits for a specific job: detecting regulated lead-based paint under the federal Renovation, Repair, and Painting Rule. That’s the whole scope of what got verified.
What the EPA’s testing program actually covers
The ETV study evaluated swab kits against wood, drywall, plaster, and ferrous metal surfaces, checking whether each kit could reliably rule out lead-based paint at the concentrations the RRP Rule cares about.
The kits that earned EPA recognition did so for that job specifically: identifying lead paint on building materials, mostly for contractors who need to know before they start sanding or demolition work.
Why that matters for glazed ceramic and glass
Glazed ceramic and glass were never part of that validation study, so a kit’s EPA recognition says nothing directly about how it performs on a glaze.
Ceramic glazes distribute lead unevenly across a piece, concentrating it more heavily in decorative pigments and less in plain, undecorated areas, in a way that painted wood doesn’t.
A swab that reliably rules out lead paint on drywall can still miss lead in a glaze if you happen to swab a plain section instead of a painted rim. None of this means swab kits are useless on dishes.
It means the EPA sticker is doing less work than it looks like it’s doing, and a negative result deserves less certainty than a negative result on painted wood would.
There’s also a difference in what counts as interference. Paint sits on top of a surface in a fairly uniform layer, which is part of why swab kits work consistently on it.
A fired glaze is a different chemical environment: other metals used in the same glaze (tin or antimony, for example) can interfere with the reagent’s color reaction, and a worn or crazed glaze surface can expose more or less lead than an intact one depending on how the damage runs.
None of that was part of what the EPA verified, so treat a swab result on dishware as a screening tool borrowed from a different job, not a purpose-built one.
How to use a home swab test kit correctly
A swab test is only as good as how it’s run, and most of the accuracy problems people run into come down to testing one spot instead of several.
- Clean and dry the surface you plan to test, since food residue or cleaning product buildup can interfere with the chemical reaction.
- Activate the swab according to the kit’s instructions. Some are water-activated, others need vinegar, and using the wrong activator can produce a weak or unreliable color change.
- Press and rub the swab against the test area firmly for the time the instructions specify, usually 15 to 30 seconds.
- Compare the tip color to the kit’s reference chart immediately, since colors can shift or fade a few minutes after the reaction.
- Repeat on at least two or three different areas of the same dish before concluding, since a single spot doesn’t represent the whole glaze.
- Record or photograph each result, especially if you’re testing several pieces from the same set, so you can track which specific areas came back positive.
Where to swab on the dish
- Swab the interior food-contact surface first, since that’s the area actually touching what you eat or drink.
- Swab the rim separately from the well of the plate or bowl, because lead concentration often differs between the two.
- Always swab any area with bright decorative color (red, orange, or yellow especially), since these pigments are the most common source of lead in a glaze.
- If the piece has a pattern that varies across its surface, swab both a decorated area and a plain area for comparison.
- For a set with a documented risk history, our full Corelle lead safety breakdown shows how testing the same collection’s plain versus patterned pieces produces genuinely different results.
Does vinegar actually detect lead?
No, vinegar itself doesn’t detect lead. Some swab kits use vinegar only to activate the chemical reagent already inside the swab, which then reacts with lead if it’s present.
Soaking a dish in vinegar and watching for a color change, cloudiness, or any other visible reaction is not a valid lead test on its own, no matter how often that method gets repeated online.
The actual regulatory leach test does use a diluted acetic acid solution (roughly 4%, which is close to household vinegar’s concentration), but under controlled lab conditions: a set volume, a full 24-hour soak, and lab-grade analysis of the resulting liquid, not a quick look at the dish afterward.
When a swab test isn’t good enough
A negative swab result is useful information, but it isn’t the end of the conversation for every dish.
Some situations call for skipping straight to a lab, particularly when the stakes of being wrong are high, or the piece is hard to test reliably with a swab at all.
Signs you should skip straight to a lab
If age, origin, or decoration already put a piece in a higher-risk category, our guide to lead in antique and old dishes walks through how to weigh those factors before you even reach for a swab.
- The dish is used daily by a pregnant person or a young child, where the cost of a false negative is meaningfully higher than the cost of a lab test.
- A swab has already come back positive or ambiguous on a piece you still want to use, and you need a real number, not just a yes or no.
- The glaze is heavily decorated or unevenly patterned, making it hard to test consistently across the whole surface with a swab alone.
- The piece is old enough, or valuable enough, that you’d rather not risk damaging it with repeated swabbing.
- You’re trying to settle a question about whether your fine china specifically is a lead risk, since bone china and porcelain patterns have some of the widest documented range of lead results, from genuinely safe to extremely high, depending on maker and era.
How to find a certified testing lab
- Search the National Lead Laboratory Accreditation Program (NLLAP) directory for a lab near you or one that accepts mail-in samples.
- Contact the lab directly to confirm they test ceramic, glass, or metal dinnerware specifically, since some labs specialize in paint, soil, or water instead.
- Ask what method they use (ICP-MS or atomic absorption spectroscopy are both standard) and what the turnaround time and cost will be before sending anything.
- Package and ship the item exactly as the lab instructs, since improper packaging can damage fragile pieces or invalidate a sample.
- Request the full numeric result in parts per million rather than a simple pass or fail, so you can compare it against both the FDA’s leaching limits and the CPSC’s content limits for children’s items if relevant.
What to do if a dish tests positive
Before deciding what to do next, it’s worth checking whether you can check your specific dinnerware brand before testing, since some manufacturers have already published lead-safety data for specific collections that can save you a repeat test on an identical piece.
- Stop using the dish for food or drink immediately, even if the result came from a swab rather than a lab.
- Wash your hands after handling the piece, since lead exposure risk comes mainly from ingestion, not incidental skin contact.
- Keep the piece out of reach of children, who are more likely to mouth objects or ingest dust from a worn glaze.
- Decide whether to retire the piece to decorative use only, or dispose of it, based on how much you’d trust yourself (or anyone else in the household) not to eat off it again.
- If you’re ready to replace a retired piece, our full non-toxic dinnerware brands cover verified lead-free options across ceramic, glass, and metal so you’re not starting the research over from scratch.
Frequently asked questions
Do lead test kits work on glass and metal dinnerware, or only ceramic?
Swab kits can be used on glass and metal, but they’re detecting the same thing in all three cases: surface lead at the exact spot tested.
Plain, undecorated glass and stainless steel carry a much lower baseline risk than glazed ceramic, since there’s no glaze layer where lead-based pigments typically concentrate.
The main risk on glass and metal usually comes from painted decoration, colored enamel, or attached decorative elements rather than the base material itself, so those are the spots worth testing first.
How much does it cost to test dishes for lead?
A home swab kit runs roughly $10 to $25 for a multi-pack, which covers testing several dishes at several spots each. Professional XRF testing through an environmental consultant typically costs $50 to $150 depending on how many items you bring in.
Certified lab leach testing runs higher, often $50 to $200 or more per sample, since it involves shipping, controlled lab conditions, and instrument-based analysis rather than a quick on-site reading.
Can I test dishes for lead without buying a kit?
Not reliably. There’s no accurate at-home substitute for a chemical swab, XRF reading, or lab leach test, and informal methods like soaking a dish in vinegar and watching for a reaction don’t measure lead at all.
If you want a genuinely free first pass, you can rely on visual risk factors instead, like the piece’s age, origin, and decoration style, but that only narrows down which dishes are worth testing.
It doesn’t replace an actual test.
How many times should I test the same dish?
Test at least two or three different spots on the same dish, including both a plain area and any decorated or brightly colored area, before concluding.
Ceramic glazes aren’t uniform, so lead can concentrate in one section of a pattern while being nearly absent elsewhere on the same piece.
A single swab in the middle of a plate tells you about that one spot, not the whole dish, which is why testing only once is one of the most common ways people end up with a misleading result.
If you’re testing several pieces from an inherited or vintage set, it’s worth working through them methodically rather than testing the one you’re most worried about and calling it done.
A full room of dishes deserves the same spot-by-spot approach as a single suspicious mug.